Making sure your controller stays clean will help you avoid your buttons getting stuck and prevent input failure - you would not want that in the middle of a match!
This guide will show you a quick and easy way to ensure your buttons are clean, and showcase specifically the Sanwa buttons (OBSF 24mm & 30mm) found in the Hit Box, Cross|Up, and Smash Box. Other buttons may similar process but will not have the exact same process.
If you wish to replace your buttons or acrylic top for custom art, use our guide: Button and Art Mods.
Outline
Introduction
Tools
To start off you will need two tools:
- a Philips #1 screwdriver
- a cleaning cloth (any lint-free or microfiber cloth is good)

Cleaning Supplies
In order to provide a deeper clean, you can use:
- Light Soap and Water (applied to the cloth, DO NOT apply to the controller)
- Plastic cleaner
Avoid these chemicals:
- Alcohol
- Ammonia
- Most glass cleaners
Unplug your controller!
Ensure that your controller is unplugged from any and every device before opening it up and cleaning it.

Accessing the Buttons
Remove back plate
Use your Philips #1 screwdriver to remove the 6 screws, then remove the back plate.

Once you have the back plate removed, you should have access to the internals of teh case of your controller.

Releasing the Button from the Case
On each side of the button is a tab holding it into place.

Push against one tab into the button and angle that side of the button through the hole in the case.
You can use the screwdriver to push in the tabs, or use your fingers.

Push the button through the hole in the case and then flip your controller over.

Removing the Button Cap
Using the screwdriver, insert it into the side of the button housing to disengage the cap tabs.


Cleaning the Button
Use your cleaning cloth to clean in and around the button.
Your controller should come with a microfiber cloth, but any lint-free or microfiber cloth should be good for this process.
Clean the outside and inside of the cap

Clean the outside and inside of the button housing

Clean the area on top of the controller where the button rim would be

Insert the cap and button
Line up the tabs on the side of the cap with the holes on the side of the housing, and insert the cap.

Then insert the button back into the hole in the controller case. It is best to use even pressure on the button to ensure it inserts evenly.

Repeat the steps above for every button that needs cleaning!
Testing Your Buttons
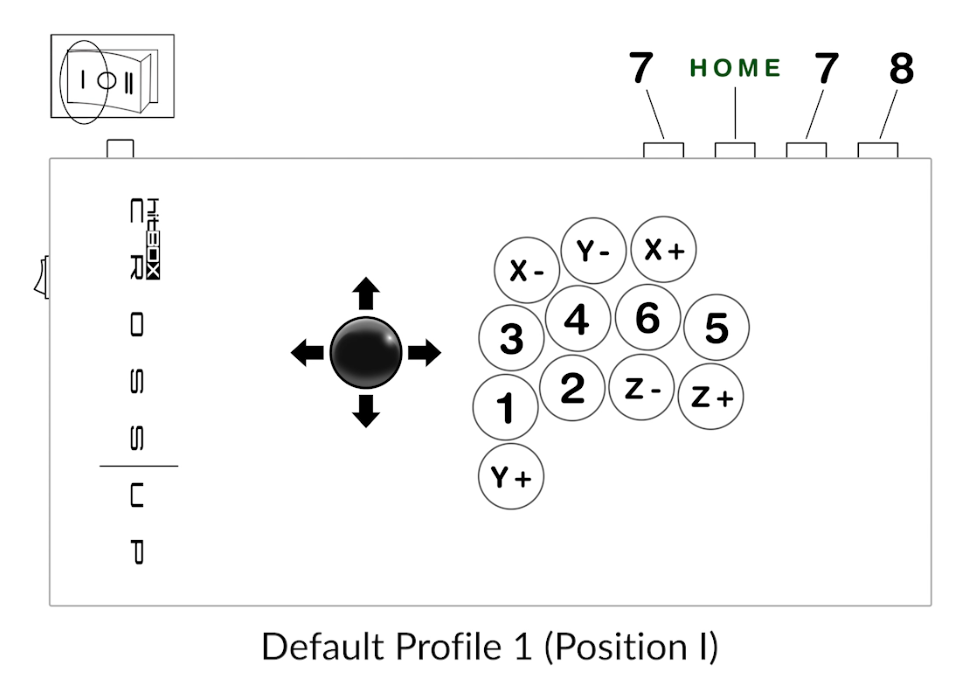
Ensure that your buttons are installed properly into the case and that no wires are loose or disconnected from the buttons.

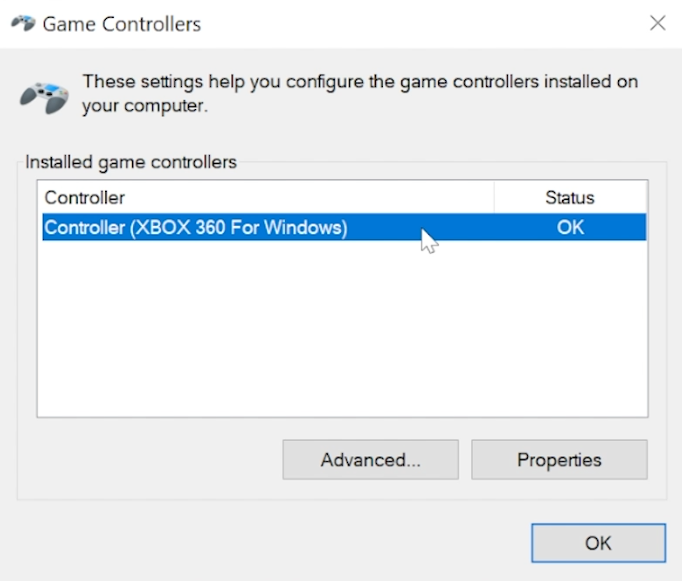
Joy.cpl
Open joy.cpl on your computer for button testing.
First, plug in your controller into your PC.
Then select the search bar in the bottom-left of your main screen, and type in "joy.cpl".
This should bring up a program that you can open.


Testing In-Game
Put back together
